Cut a slot in each frame for the fabric to be installed on the frame.

 Used pins along the side to center the stitching. Turned over and basted it in place.
Then used fray check on the raw edges.

Measured the outer edge of my frame and doubled the measurement to cut my fabric with.


Made my measurements, folded over 4 inches wide by 73 inches long piece of fabric.


Ironed it down and cut the length I need.

The folded over the 4 inch x 73 in piece and I didn't iron this, as I did not want a crease through the center of the fabric. Just pin together for a 2 inch tube and sew.

Now the difficult part! Turn the tube right side out. This takes some time. I tried sewing the outside of the fabric and putting the seam on the backside of my frame. Didn't work well. The fabric became bulky and didn't look good. So it is the hard way for me.


Now the fabric tube is right side out. Slide the fabric onto the foam board circle with the sewn seam on the back. The method I used is clamping the foam board in my knees and pulling the fabric

I did have a "helper"!

You can move the fabric arround on the ring and arrange it so the gathers look even. This may take some time. If you find the fabric does not move easily, you can shave a little off the foam board and try again. Without having to sew another piece.


Center the design in the frame. As you can see, the backside is uneven. This doesn't matter. It is centered in the frame on the front side. I love foam board for this reason. You can hold everything together with pins until you are finshed sewing.

Quick stitch the two edges together with basting stitches. I like to sew all my projects. Have had some nasty results with glue turning yellow, over time. Even with the glues that are made for this project. I also sewed a ribbon to the back, so it could be hung on the wall.

All finished. I didn't have time for the second Shepherds Bush. It is in the next batch of sewing.

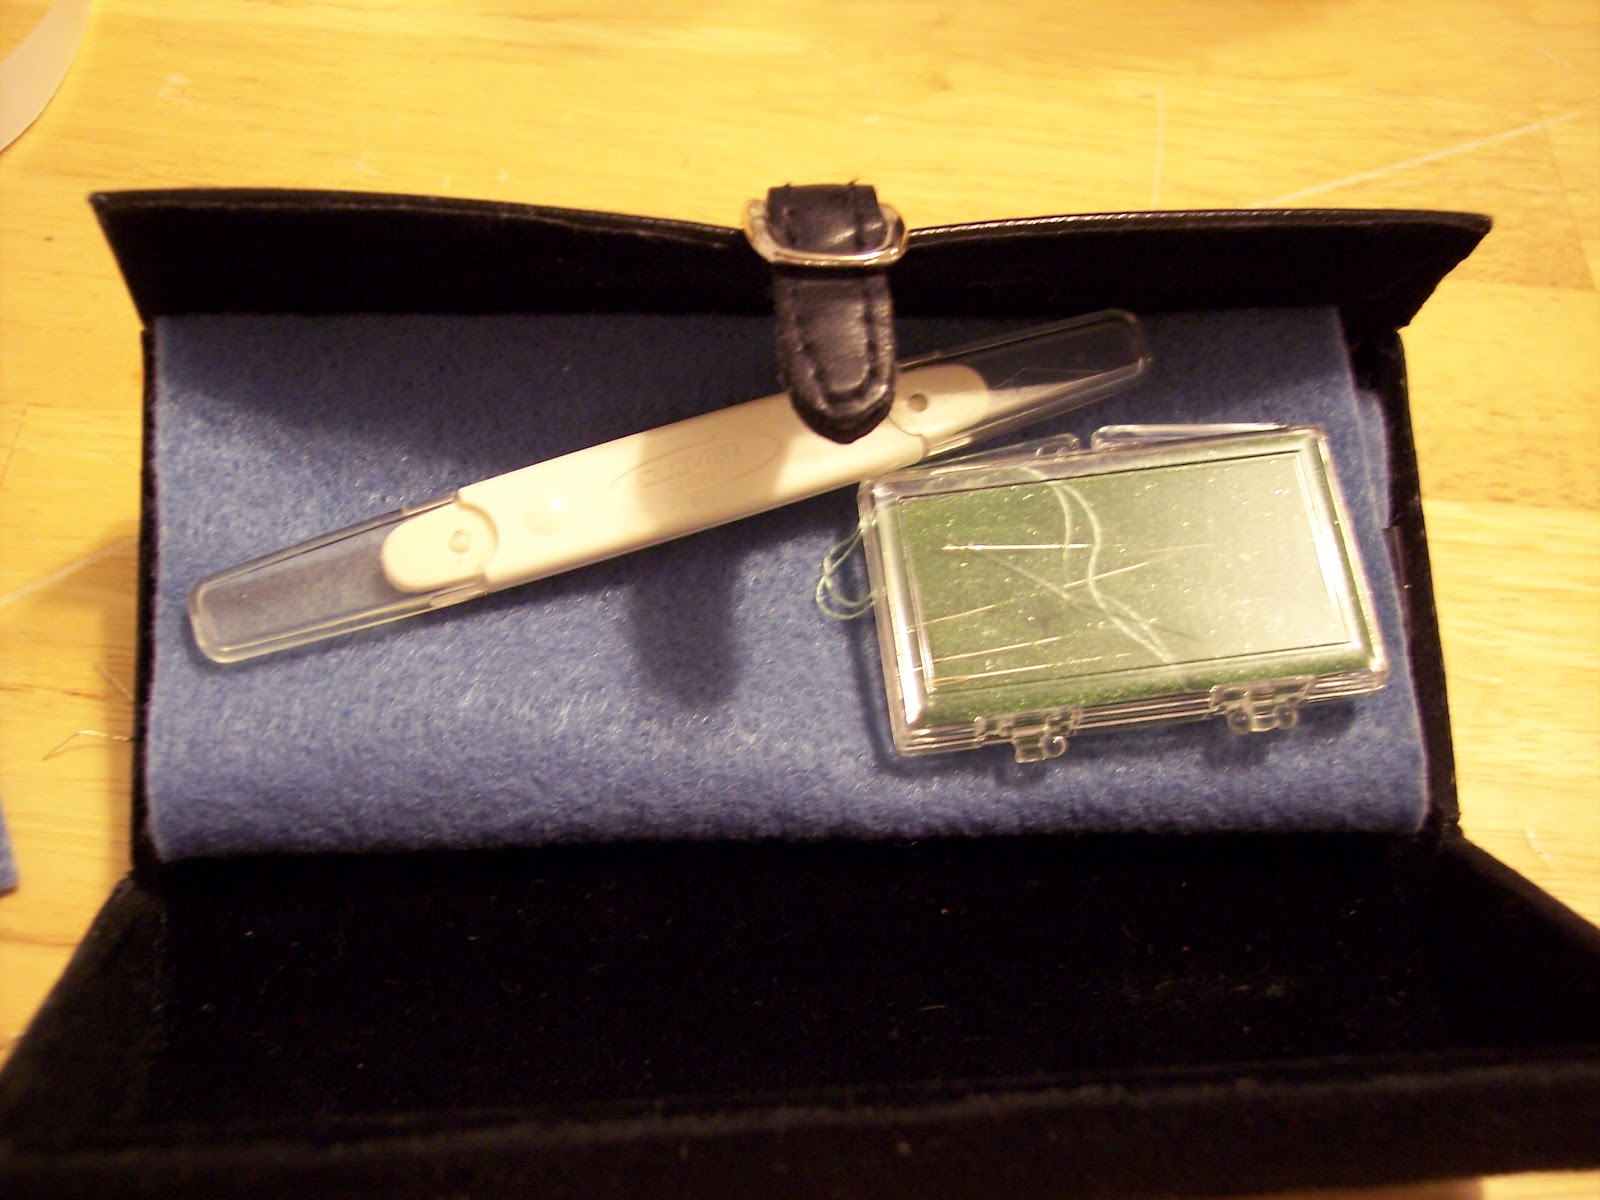
Last month I querried bbinteractive group as to what they use for needle storage. I recieved some excellent suggestions and put them to good use. Several suggestions was to use magnets and eyeglass cases. Works for me! I have a beautiful eyeglass case. I bought it several years ago. Used them, when we drove truck, to keep my glasses from getting scratched. This one snaps shut, quite securely.

I had some nice quality felt, bought a roll of magnetic strip with adhesive backing. Now, I was trying to be economical and get more magnet for less. However, I wished I would have bought the flat strips in piece's. As the rolled takes a while to flatten out. This turned out to be a no sew project, with the adhesive backing. I put one strip on the inside of the eyeglass case and a matching strip on the back of the felt piece.

Then put the two magnetic strips together. Securing the felt to the case.


Folded the felt. Also storing my needle threader and a beading needle case.

On to stitchng! This is Joan Elliotts A wizards View WIP. I was expecting to have his face done by now. But, as it always seems to be the case, I always get side tracked. I did get the border cross stitch done.

Had some finishes this past month! This is stitched on 14 count perforated plastic canvas. Holiday Bear Stocking pattern is from The Cross Stitcher Magazine, December 1995. It is the American version of The Cross Stitcher and not the UK version. Another addition to my wrought iron wall hanger.

This was a joy to stitch! This is Brooke Nolan's Autumn Pantry. Am waiting on sewing this. Currently working on the summer pantry. Would like to stitch all four pantry's and coordinate the designs together for a final finish.

Here is my WIP HAED Mini Autumn Cat Magic. I am stitching him on 36 count linen, over 2 threads with 2 strands of DMC. This is fun to stitch!


Several years ago I bought this HAED pattern. Through several moves, the pattern is lost in a box SOMEWHERE! Well Heaven and Earth Designs was having a sale. Dear husband loves this one. It is the Bubble Telescope, artwork by Ciro Marchetti. So, I bought it again and will start this sometime in the next few days. This weekend, If I can get a break. Hubby has definately earned this one. Am expecting this will take 3 to 5 years to stitch on 36 count with full cross stitches. The expected size will be 29.25 inches wide by 40 inches high. More like a small tapestry, than a cross stitch pic.

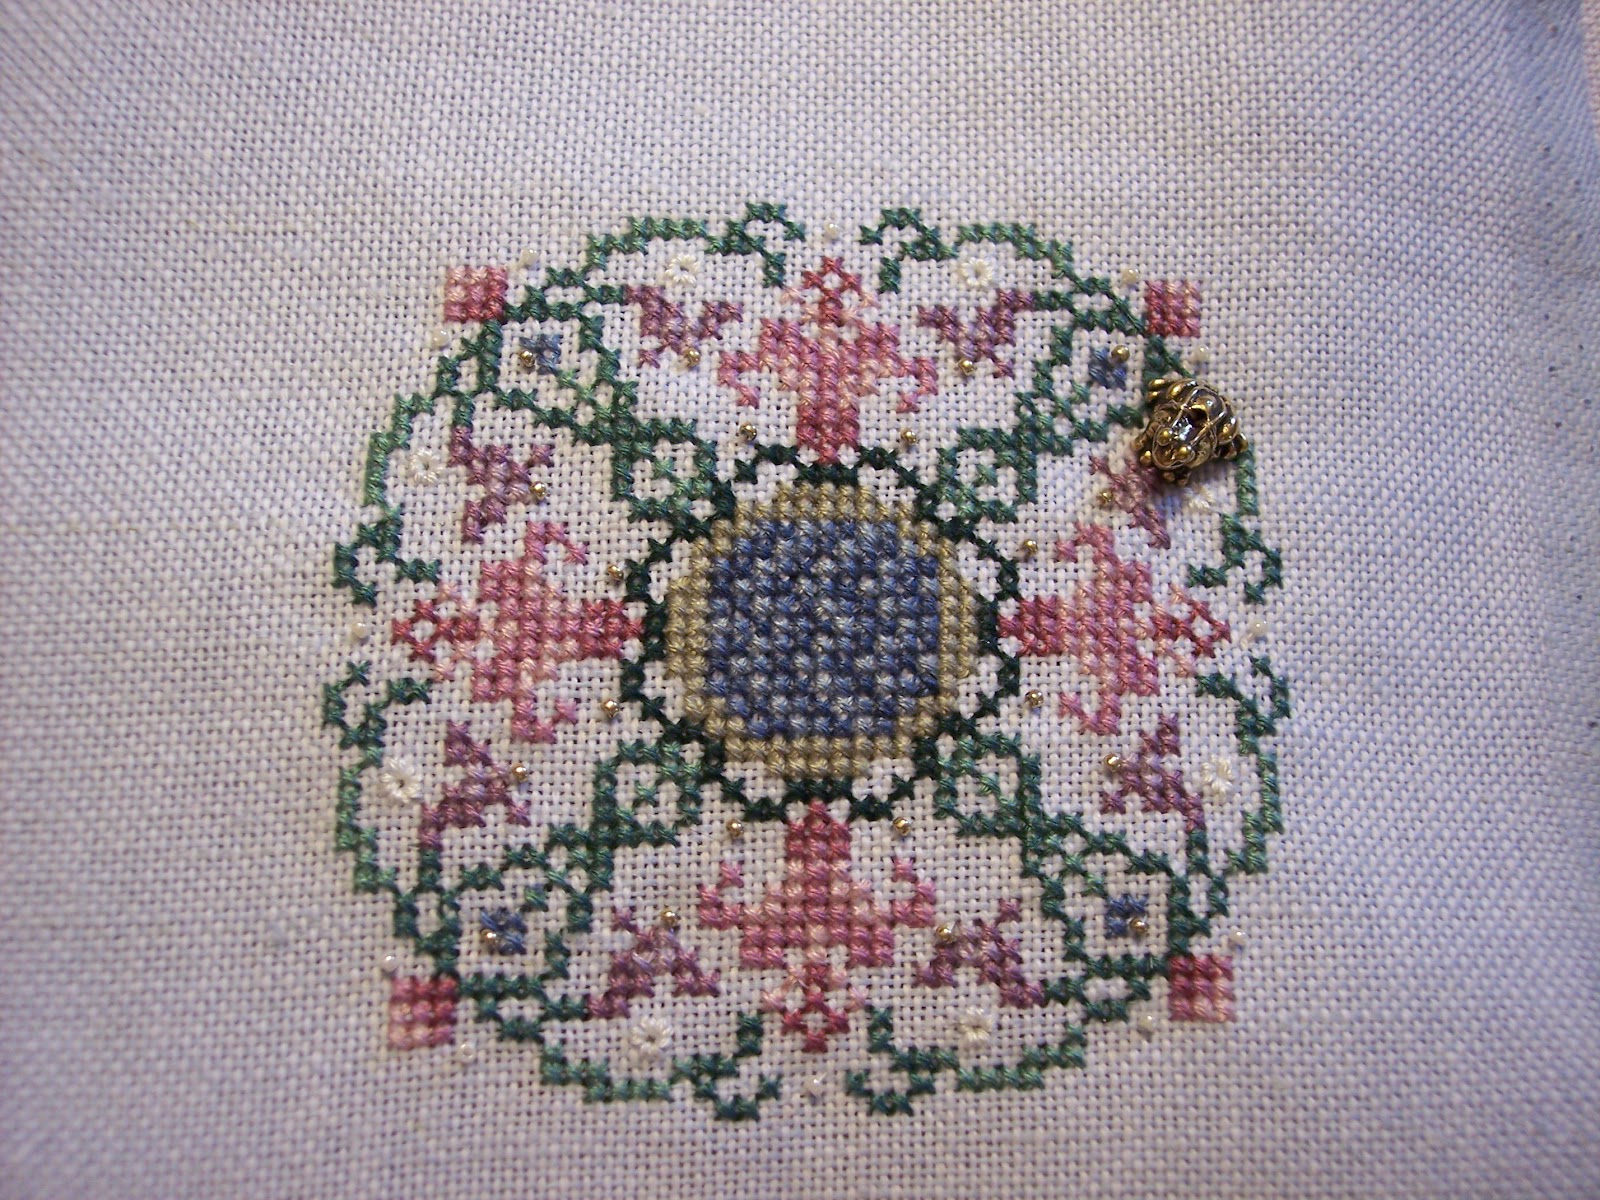
Another box looked through, and MORE UFO"s found. Talk about area 51! I stitched these Just Nan designs years ago, when we were driving. As with many projects, ones that needed beads, were stored away, as beads were difficult to keep track of in a big truck. I had 2 of the patterns, and guessed at the bead placement on the others. Now to figure our what to do with them. Ornaments, or maybe quilted into a wall hanging. Hmmmm. Will have to think on this one.


This UFO is a rug I made years ago. (in same box as the Just Nan pieces) I washed and set out to dry. Is about 36 inches around. Needs to have the outer edge of the canvas sewn down and secured. I found this iron on rug binding for the job. I will give the iron a try. As this canvas is rough to the hands( my hands were just about raw, when rug latching this) and hopefully the iron on will secure the edges enough for future washings. Will also give this a try this weekend, if time permits. I never know what we will be doing or how the road calls will go. Also thinking of attaching a backing, before ironing on the binding. Maybe protect the canvas backside.


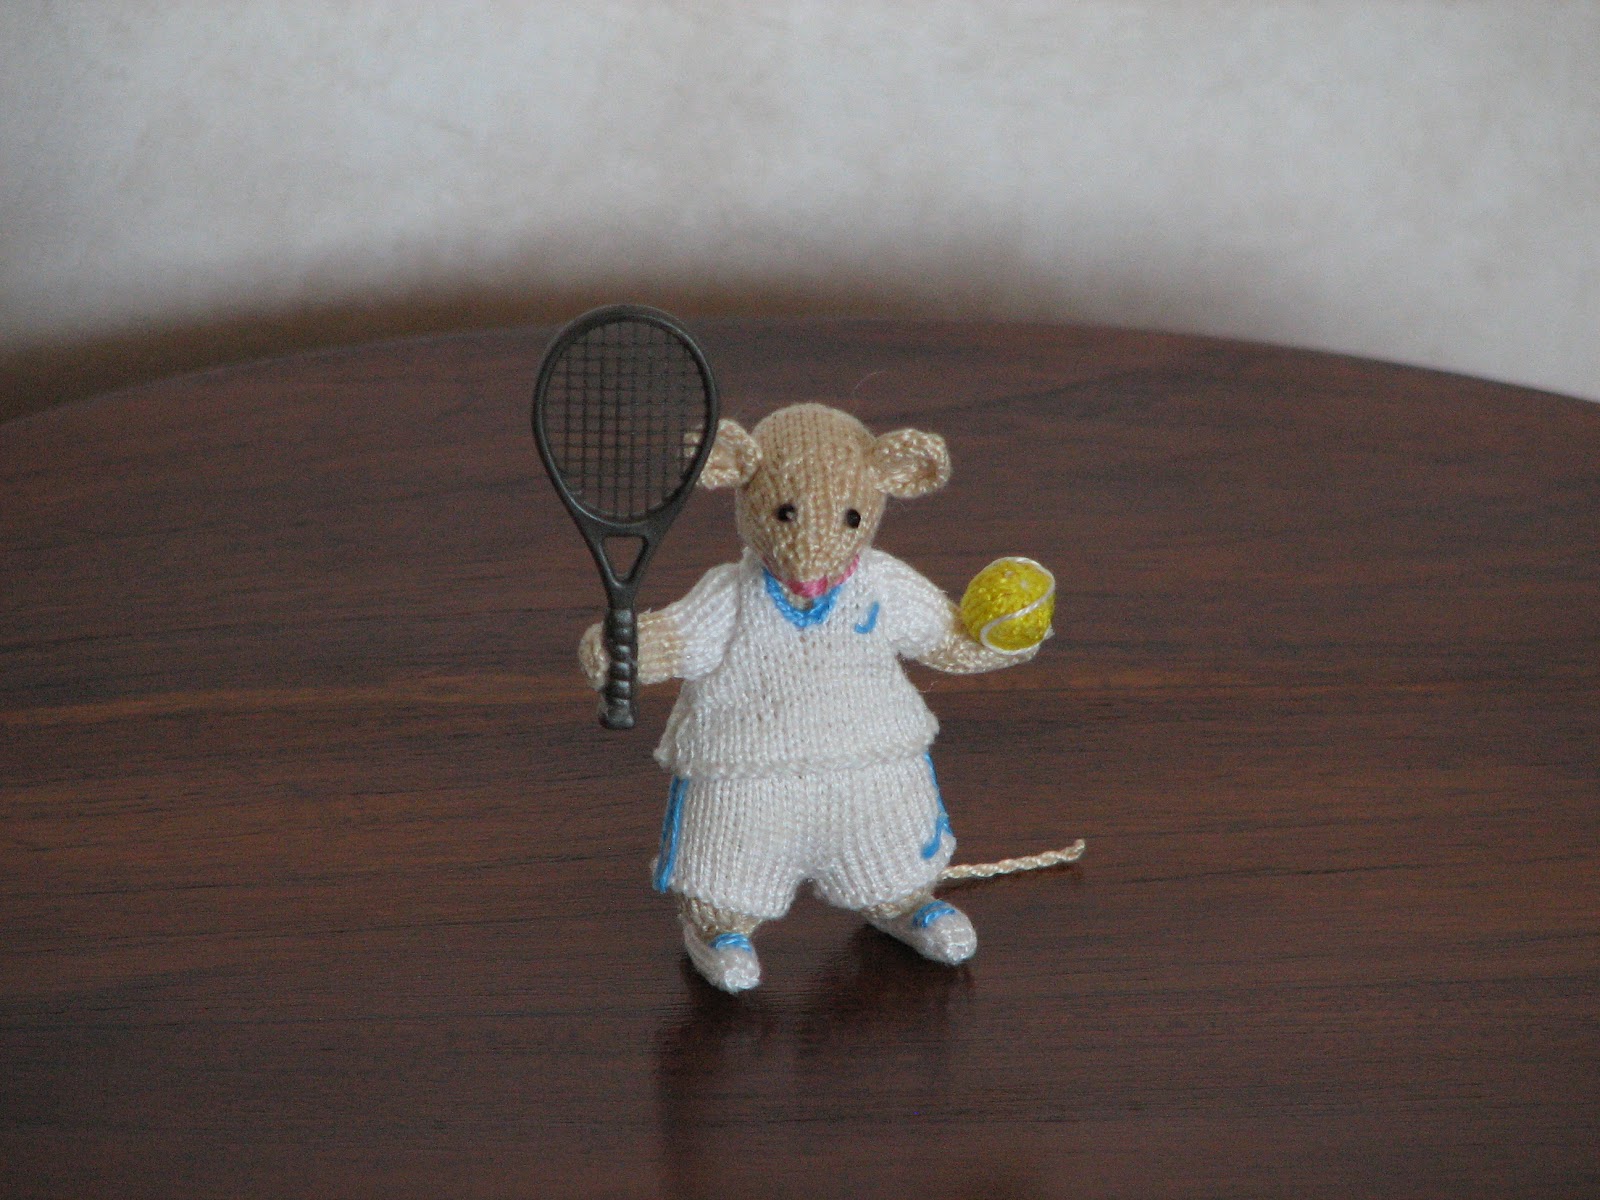
Here are more of Michelles knitted petit souris! Still amazes me that these little mice are only 2 7/8" tall! Michelle has been finding baby toys and baby moble toys to use for these adorable mice. And, no collection is complete without a super hero!


Michelle made the nun's book from instructions paperwork from a project her and her husband were putting together. From the very fine print.


I wouldn't mind this handsome guy taking my picture!

Tennis anyone! Even the tennis ball is knitted!